Checking for Mobile Spyware
Intro
Lately, the news has been littered with articles about the NSO Group and their tool Pegasus, which infects mobile phones with spyware. The issue at hand is the way Pegasus is able to infect a targeted user’s phone without any interaction from the user. A couple of articles can be found here:
Finnish diplomats' devices hacked with Pegasus spyware
Rona Wilson's phone infected with Pegasus, new forensic analysis shows | The News Minute
Israel police uses NSO's Pegasus to spy on citizens | Ctech
Today we’re going to install and run through the Mobile Verification Tool (MVT) that was developed and released by the Amnesty International Security Lab. This tool allows us to take a look at our own devices and determine if there are any indicators of compromise (IOCs). There’s a guide here but we wanted to run it through its paces with one of our testing devices and share the results here. We’re focusing solely on iOS devices but be aware that there is an MVT for Android as well.
Initial Requirements
We’re going to assume you’ve already installed Homebrew from here. We’ve installed Homebrew in previous blogs so make sure to check those out!
The first step in the mvt-ios install process is installing some dependencies. We can type in the command “brew install python3 libusb sqlite3”.
Once that’s complete, we need to update our zshrc file so that we can run the next command from the terminal.
Once Nano is open with the zshrc file, we can type in “export PATH=$PATH:~/.local/bin” to the file.
For folks who are newer to working with the terminal, nano can seem a little daunting. But I promise it’s not that bad. Once we’re done adding in the command from above, we hit Control-O to save the file. As you see in the screenshot below, it’s going to prompt you where to save by asking you “File Name to Write: /private/etc/zshrc”. We do want to overwrite the same file so you hit enter. Once it accepts it, hit Control-X to exit the nano file and you’ll be dropped back into the terminal.
Install MVT-iOS Module
Once back in our terminal, we can use ‘pip3 install mvt’ to install the mobile verification tool
You will see the regular progress bars that accompany any new software install for the mvt-ios module.
Once complete, we can type in “mvt-ios --help” to ensure we have the correctly installed. If installed correctly, you'll find the different commands you’re able to do with the tool.
Install dependencies for iOS
The documentation states that installing libimobiledevice will make it easier to interact with iOS devices. So we can easily do that by typing “brew install libimobiledevice”.
Downloading IOC files
In order to test our backup for IOCs, we need to download a file that contains the indicators. Download these stix2 files and save them as we’ll be using them further down in the guide.
Download NSO Group Pegasus IOCs here.
Working With you iDevice
Once downloaded and installed, we can start interacting with our iDevice. If you haven’t connected to your phone yet, you will need to select “Trust” on your phone and on your computer. You’ll also need to put in the pin on your iDevice.
If working correctly, you can type in “ideviceinfo” and you’ll get information from your connected device.
In order to pull the most information out of a backup, we need to encrypt that back. We can use the libimobiledevice package we installed earlier to perform that function. Type in the command “idevicebackup2 -i backup encryption on” to start the process.
If you’ve never encrypted your backup before, you’ll be prompted to enter in a password for your device.
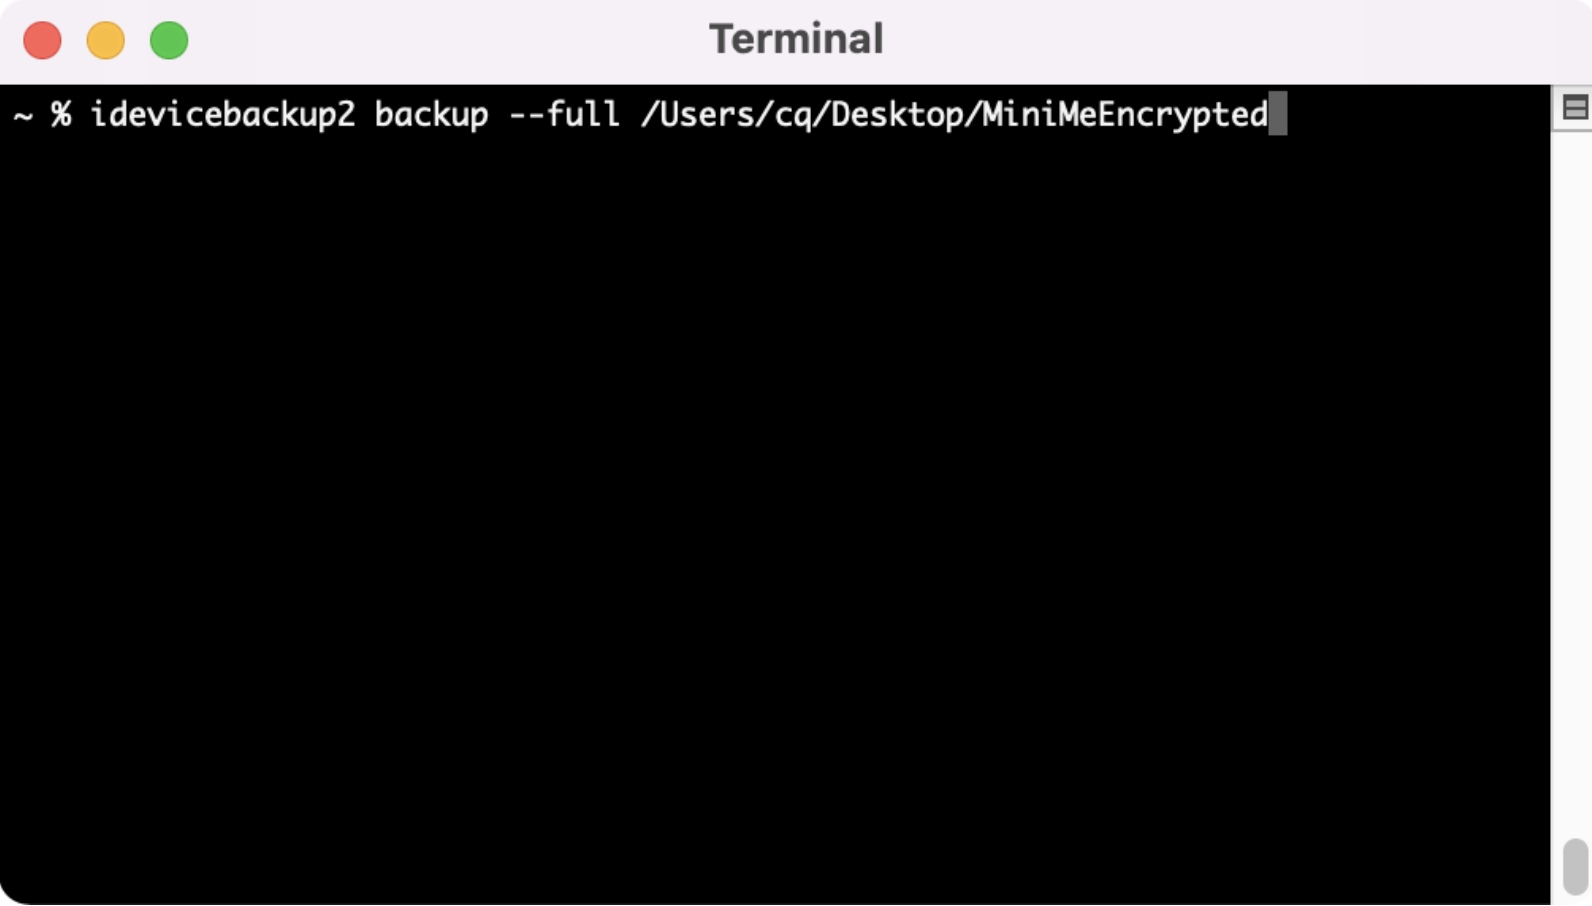
Now that our device is set up to encrypt the backup, we need to pull that backup and save it to our computer with the command “idevicebackup2 backup -- full /locationyouwant”.
Once initiated correctly, you’ll see similar output to the screenshots below. Your device will backup and pull all the files associated with that backup.
Using MVT-iOS
We can now use mvt to decrypt the backup we just created. The command is “mvt-ios decrypt-backup /pathtoyourbackup -d /pathyouwantoutputsaved -p yourbackuppassword”.
Warning: In the screenshot below, you’ll see that my password (123456) is available in clear text and you’ll get the same warning message from mvt.
Now that we have the backup decrypted and saved off, we can use mvt-ios to check it out and see if there are any indicators of bad actors. This is where we use the stix2 files downloaded from earlier in the guide. We’ll use the command “mvt-ios check-backup - i /pathtoiocs -o /pathtooutput /pathtodecryptedbackup.
After it’s complete, you'll have a bunch of json files. Any mvt-ios hits will have “_detected” appended to the filename. Thankfully it looks like my test device wasn’t targeted.
We can use the same process to check for Cytrox. We just change the -i flag to the correct location for the Cytrox.stix2 file.
And again we will get the same json output. It looks like my test device is safe from Cytrox as well.
Conclusion
There are a lot of bad actors out there trying to steal information. A big thank you goes out to the Amnesty Group for providing this tool for everyone to use. And hopefully, this guided walkthrough helped illuminate how you can do this at home to check your own iOS devices.


